The one where water is made
One of the most powerful tools at the disposal of a game programmer is the shader. It lets you apply logic to a simple texture and mix it easily with other textures for gorgeous results. Today I will be walking you through how to implement a simple water shader in love2d using fennel.
The shaders I will be demonstrating today were implemented for my 2023 Love2D game jam submission Potions. This simple shader greatly enhanced the graphical quality of the game and is generic enough to be applied in many settings.

For those new to fennel, their language page has a rich selection of resources. I recommend new users read the tutorial and the reference guide.
For those new to shaders in Love2D, the Love2D Shaders page on their wiki is a good place to start. This tutorial will walk you through creating shaders, passing information via uniforms, and writing basic shaders using Love2D’s flavour of glsl.
Step 1 - Rendering the tile sans shader
Before we jump into shaders lets make sure we can load an image and
display it to the screen. In this example we will be loading the images
we need in love.load.
The tile image used in this tutorial can be found here.
Note, because we are working with pixel art we can use love.graphics.setDefaultFilter to set the default filtering to nearest neighbour, rather than bilinear.
;; We define `assets' at the module level so both love.load
;; and love.draw can access it.

(local assets {} )

(fn love.load []
  (love.graphics.setDefaultFilter :nearest :nearest 0)
  (tset assets :water (lg.newImage :water.png)))
With the water tiles loaded we can display them using
love.graphics.draw. When you run love2d you should see the
water.png in the top right of the render window.
(fn love.draw []
  (local scale 4)
  (local lg love.graphics) ; just an alias to make the code
                           ; more compact
  (lg.push)
  (lg.scale scale)
  (lg.draw assets.water)
  (lg.pop))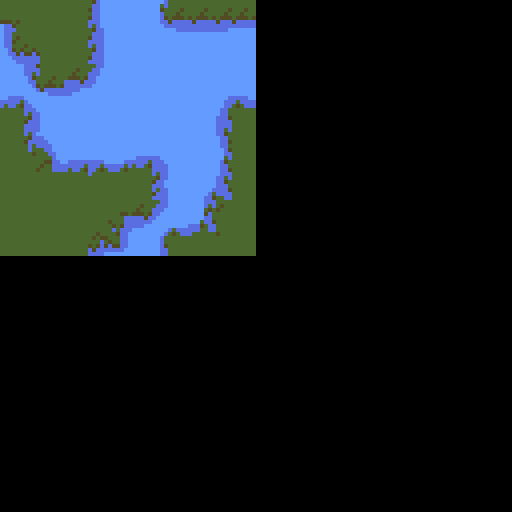
The full source can be seen here.
Step 2 - Applying the Love2D default shader
While drawing a tile to the screen is quite exciting, adding a shader or two can really make your game pop. For starters, lets apply the default Love2D effect shader and walk through the process of loading and applying shaders in Love2D.
Before we begin, there are some things to keep in mind for those who have an opengl background. Love2D uses its own flavour of glsl. Some key symbols have alternate names. Right off the bat, the vertex and fragment shaders are refereed to as position and effect. The newShader page has a table mapping the standard glsl terms to the Love2D flavour.
There are just two Love2D unique terms we will be using in this project.
sampler2D->Imagetexture2D(tex, uv)(in GLSL 1) ->Texel(tex, uv)
Here is the glsl code for Love2D’s default shaders. It can be found
on the newShader
page. Lets go ahead and paste this into a file called
water-shader.glsl.
vec4 effect(vec4 color, Image tex,
            vec2 texture_coords,
            vec2 screen_coords)
{
    vec4 texturecolor = Texel(tex, texture_coords);
    return texturecolor * color;
}
Loading a shader is as easy as calling love.graphics.newShader with the name of the file as the first argument. We could alternatively embed shaders directly into fennel as strings.
Add the following to the end of love.load to load the
water shader and store it in assets as water-shader.
(tset assets :water-shader (love.graphics.newShader :water.glsl))You now have the shader in your game! However, its not being applied… yet
To apply a shader we need to use the function love.graphics.setShader.
We can pass in the water shader like
(love.graphics.setShader assets.water-shader). Note,
calling this function without arguments will reset the default
shader.
To make sure everything works, lets draw the shader processed version
of water.png right next to the unprocessed version.
Call love.graphics.setShader
right before we call the draw function in love.draw, and
make sure to call it again without arguments before the next unprocessed
render.
Your love.draw should now look like the following:
(fn love.draw []
  (local scale 4)
  (local lg love.graphics)
  (lg.push)
  (lg.scale scale)
  (lg.draw assets.water)
  (lg.translate 64 0)
  (lg.setShader assets.water-shader)
  (lg.draw assets.water)
  (lg.pop))
When you run this code you should see two identical images. Anticlimactic I know, but it is only step 2 after all.
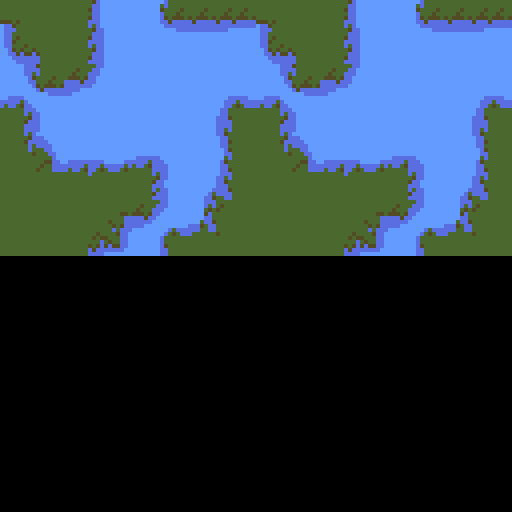
The full source for this step can be seen here.
Step 3 - Passing information to the shader
Step 3! Now it’s time for the real fun. We are going to start tracking time in the game and passing the value into the shader. We will use this value to effect the red alpha channel of the image.
Lets track the time in love.update. Note that time is a
variable defined in the module scope so both love.update
and love.draw can access it.
(var time 0)
(fn love.update [dt]
  (set time (+ time dt)))
Now for the magic. Lets take that time into our shader as a uniform
float and use it to overwrite the r channel of the colour variable
passed into the shader by Love2D. color being a
vec4 can be indexed using the keys r,
g, b and a or x,
y, z and w
uniform float time;

vec4 effect(vec4 color, Image tex,
            vec2 texture_coords,
            vec2 screen_coords)
{
    color.r = time;
    vec4 texturecolor = Texel(tex, texture_coords);
    return texturecolor * color;
}
To pass the variable into the shader we can use Shader:send. Add
(assets.water-shader:send "time" time) to your draw call
before we draw the second time.
Here is what your love.draw should look like now.
(fn love.draw []
  (lg.push)
  (lg.scale scale)
  (lg.draw assets.water)
  (lg.translate 64 0)
  (lg.setShader assets.water-shader)
  (assets.water-shader:send "time" time)
  (lg.draw assets.water)
  (lg.setShader)
  (lg.pop))
Note: make sure the uniform variable time is used by
your shader. Otherwise, using Shader:send will throw an
error. To avoid this you can test to see if the uniform exists in the
shader using Shader:hasUniform.
While this colour effect could also be accomplished without shaders, by using the love.graphics.setColor function, it is a useful minimum viable shader that lets us demonstrate how we can pass values from our game into the shader.
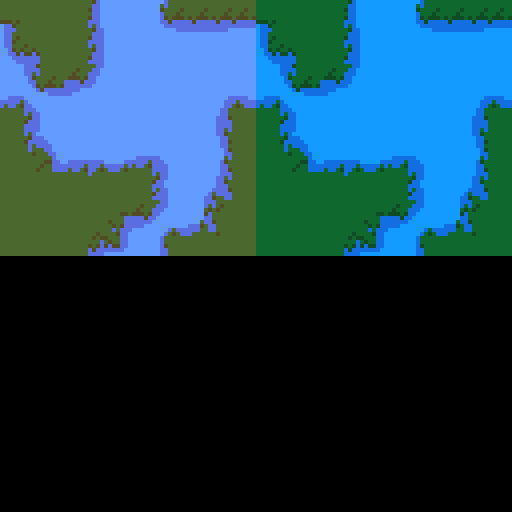
The full source can be seen here.
Step 4 - Displacement effects using a shader
So we can change the colour of a sprite, now lets have even more fun!
A displacement shader uses the values in the rgb field of one image to offset the position of pixels in another. Each colour channel can be used to displace a pixel in a specific direction.
The first thing we need to do is get a hold of the image that we will use to displace our water tile. We will be using an image of simplex noise, you can download it here.
We can pass the simplex noise image to the shader just like we passed in the time variable. However, since the image will be static, we can pass it in once rather than for each frame.
Add the following to love.load after the water shader is
created.
(tset assets :simplex (lg.newImage :simplex-noise-64.png))
(assets.water-shader:send "simplex" assets.simplex)
While we are in the fennel code we can also update our time code.
Previously we had the time rising from 0 to 4 and then reseting. We are
going to remove that reset. Your love.update function
should look something like this.
(var time 0)
(fn love.update [dt]
  (set time (+ time dt)) )
Finally, lets show off our simplex noise and the new animated water.
We are going to draw the simplex noise to the right of the static image,
and the output of the shader below the static image. Your
love.draw function should look something like this.
(fn love.draw []
  (lg.push)
  (lg.scale scale)
  (lg.draw assets.water)
  (lg.translate 64 0)
  (lg.draw assets.simplex)
  (lg.translate -64 64)
  (lg.setShader assets.water-shader)
  (when (assets.water-shader:hasUniform "time")
    (assets.water-shader:send "time" time))
  (lg.draw assets.water)
  (lg.setShader)
  (lg.pop))
At this point we’ve sent the simplex noise to the shader and passed it the time. Now its time to take those two pieces of information and animate the static image.
Receiving the image is as easy as adding the following uniform to the
water shader, before the effect function call.
uniform Image simplex;In the effect function call we are going to define the speed at which the noise image is translated, and the amplitude, or how much each pixel in the tile image should move relative to the value in the shader image. You can tweak these values to get the effect you want.
float speed = 0.05;
float amp = 0.05;
Once we know how quickly we are scrolling through the simplex noise
image we can index it. Add the distance traveled to the relative
texture_coords to get the pixel specific location. Just like with the
default shader we can use Texel to index the noise
image.
vec2 noise_time_index =
  fract(texture_coords + vec2(speed * time, speed * time));
vec4 noisecolor = Texel(simplex, noise_time_index);
We will be using the r and g values of the noise image to shift which pixel we are selecting from the tile image. r will offset the index in x and g in y. We can also harness b as a diagonal movement, to get a more interesting effect. Here I multiply b by 1 / sqrt 2 and subtract it from the x and y directions.
float xy = noisecolor.b * 0.7071;
noisecolor.r= (noisecolor.r + xy) / 2;
noisecolor.g= (noisecolor.g + xy) / 2;
Now that we have our final r and g values, representing displacement
in x and y we can index the tile image. As when we sample the noise
image we add our displacement vector to the texture_coords passed into
the effect function. Here is where we make use of
amp. we shift our displacement vector (generated from the
simplex noise) so rather than ranging from 0 to 1 it ranges from
- amp to + amp.
vec2 displacement = texture_coords + (((amp * 2) * vec2(noisecolor)) - amp);
vec4 texturecolor = Texel(tex, displacement);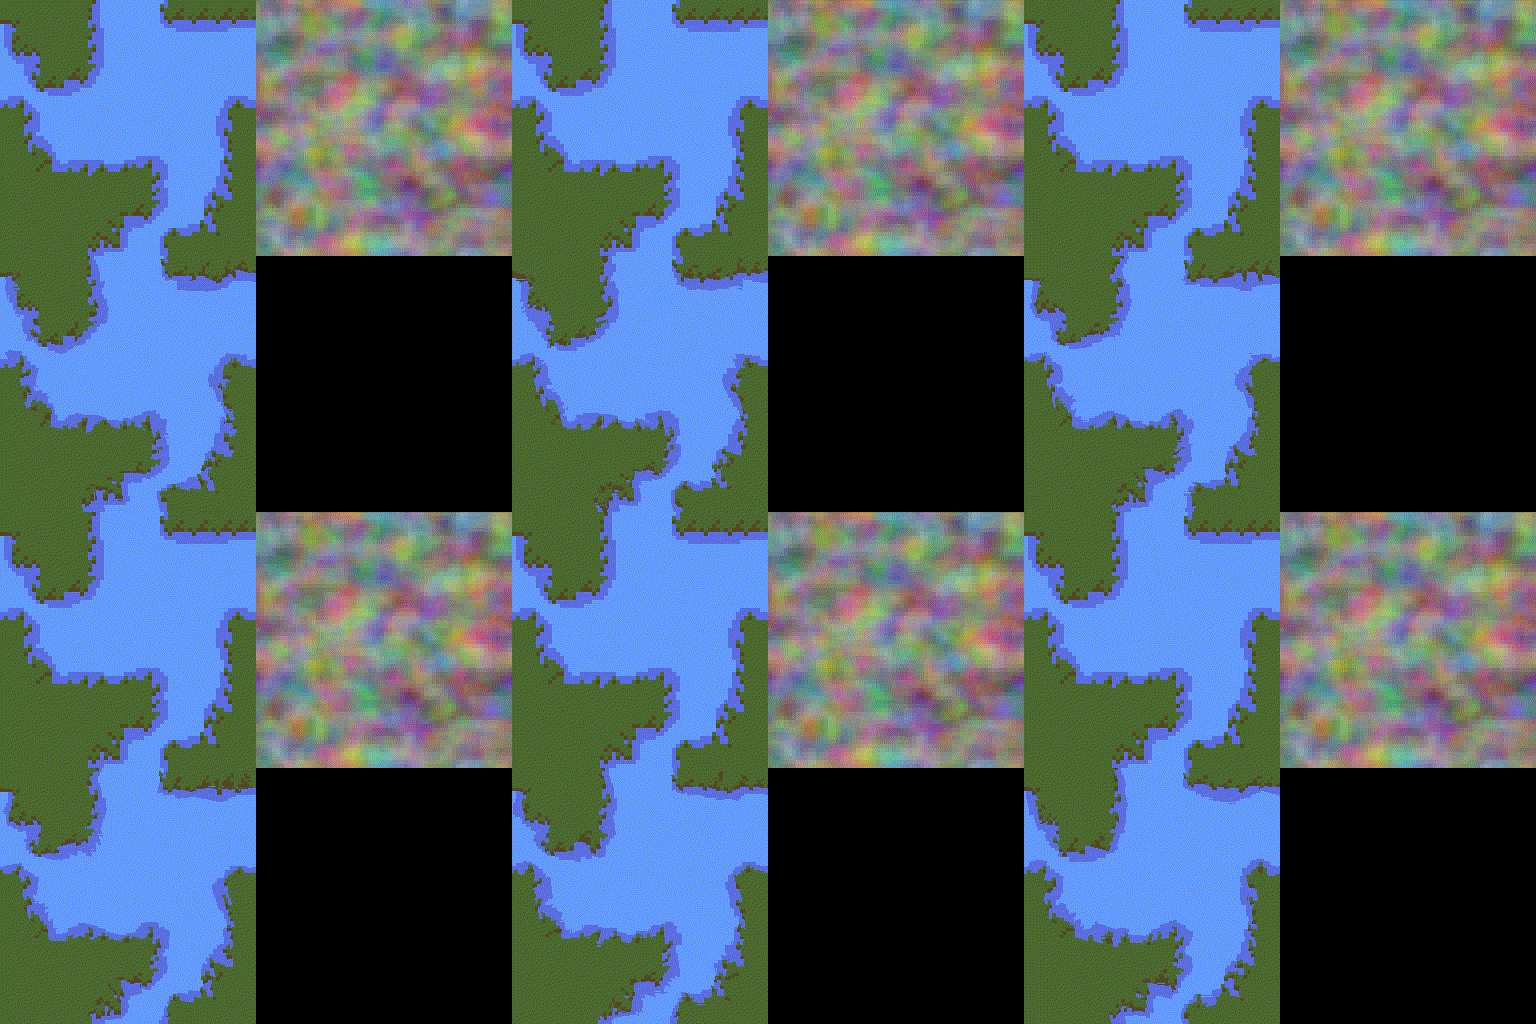
The full source can be seen here.
Step 5 - Masking the region of the displacement effect
Cool, the image is now moving. The only issue is that the WHOLE image is moving. We just want the water shimmering, not the land.
We can restrict the effect of the shader to a specific set of pixels using a mask image. The mask we are using is black and red. Red pixels indicates the shader should have an effect.
The mask image can be downloaded here.
As with the simplex noise image, we can pass the mask image to the shader once.
In love.load add the following lines to load the image,
and then pass it to the shader.
(tset assets :mask (lg.newImage :mask.png))
(assets.water-shader:send "mask" assets.mask)
To help see what’s happening lets draw the mask to the screen and the final resulting image.
Below is what your love.draw function should look
like.
(fn love.draw []
  (lg.push)
  (lg.scale scale)
  (lg.draw assets.water)
  (lg.translate 64 0)
  (lg.draw assets.simplex)
  (lg.translate -64 64)
  (lg.draw assets.mask)
  (lg.translate 64 0)
  (lg.setShader assets.water-shader)
  (when (assets.water-shader:hasUniform "time")
    (assets.water-shader:send "time" time))
  (lg.draw assets.water)
  (lg.setShader)
  (lg.pop))
Now for the shader logic! Add the following line directly below the
one we used to load the simplex noise. This is the mask image you passed
in in love.load.
uniform Image mask;Now lets index the mask at the texture coordinate of the pixel we
intend to draw and make sure that both the location where we want to
draw the pixel, and the displaced position fall within the masked region
(the red region). Overwrite
texturecolor = Texel(tex, displacement); with the
following, which checks for both these requirements before displacing
the pixel. If the pixel falls in the black region the default pixel is
drawn.
vec4 mask_value = Texel(mask,texture_coords);
vec4 mask_value_source = Texel(mask,displacement);
vec4 texturecolor;
if (mask_value.r == 1 && mask_value_source.r == 1){
    texturecolor = Texel(tex, displacement);
}
else {
    texturecolor = Texel(tex, texture_coords);
}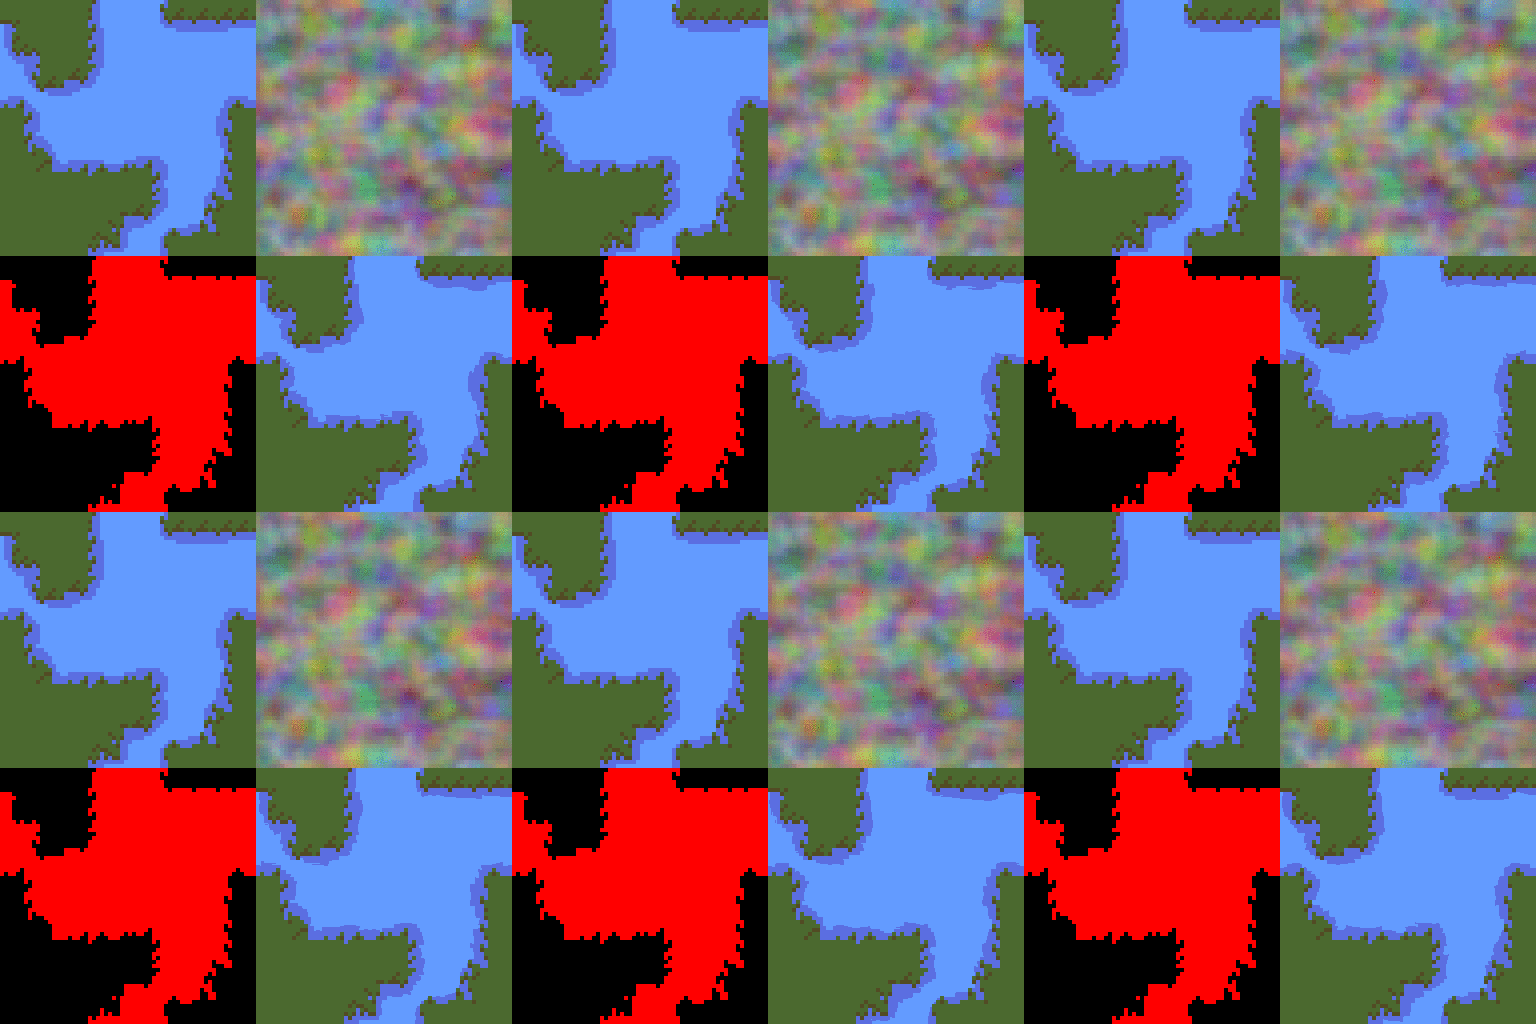
That is it! Now you should see the effects of the displacement shader in the bottom right of the game window
The full source can be seen here.
Bonus - Implementing reflections
The code above shows you how to implement a generic shader in Love2D. It will take more work to integrate it into your game.
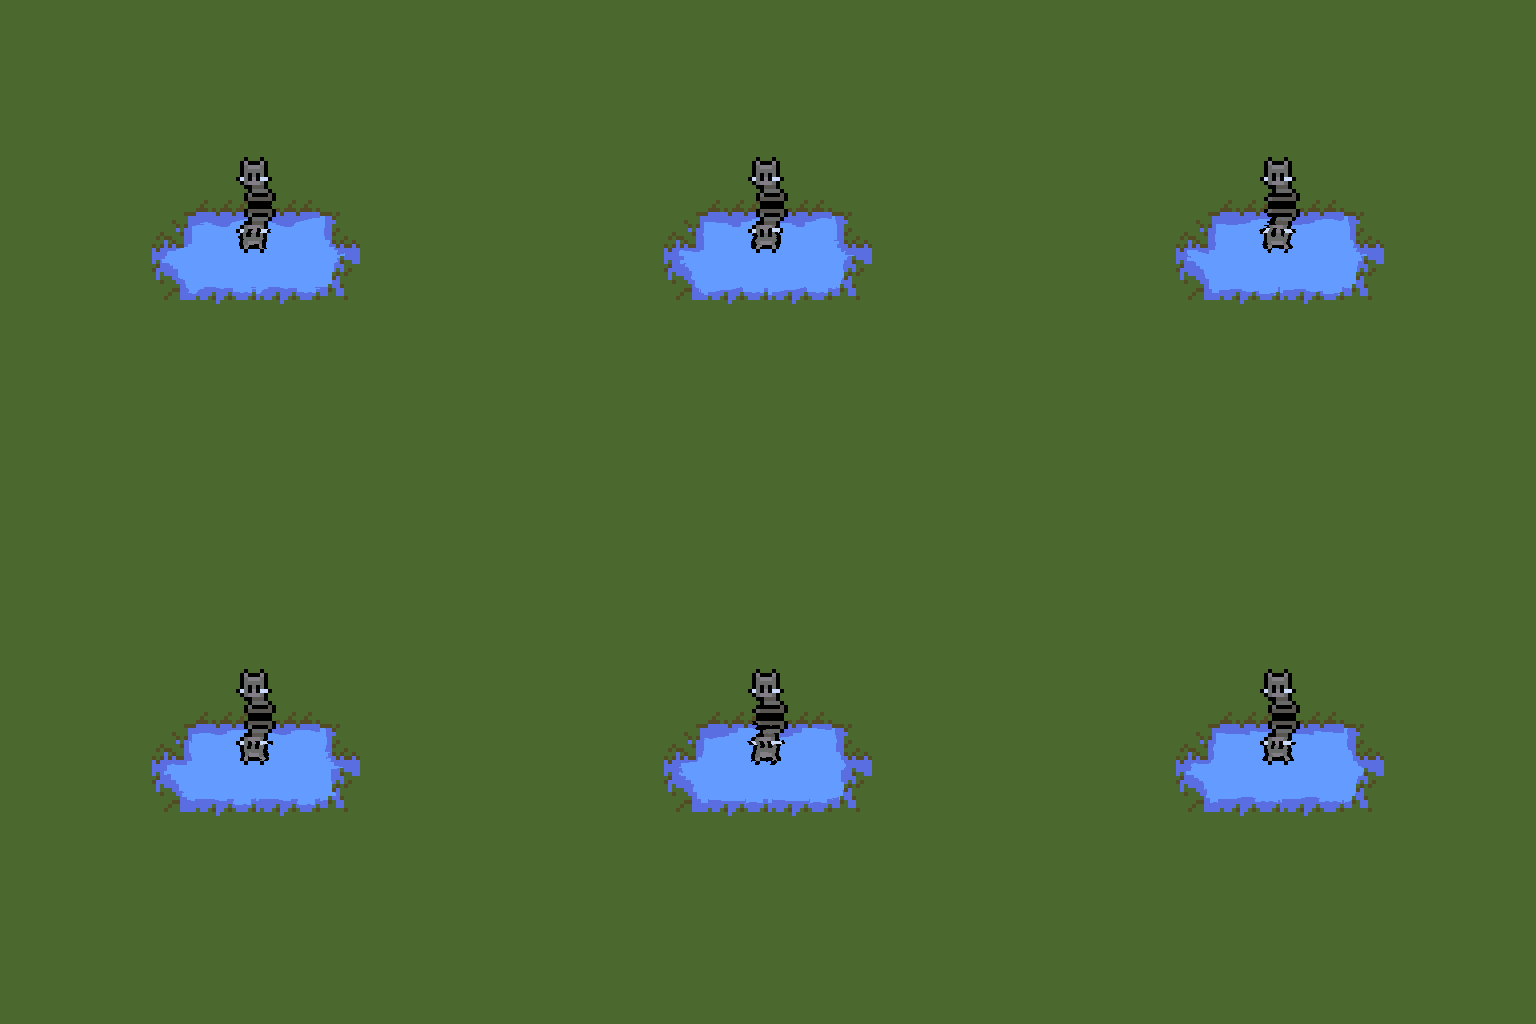
Check out the final version of the code on GitLab to see what a integrating the shader into a simple game looks like. As a bonus this version also implements reflections into the shader logic.
The cat image used in this step can be found here.
The full source can be seen here.
Have fun coding shaders everyone!
The images provided in this tutorial are available as CC-BY 4.0 Attribution