The one where buttons are made
This post is a primer on how not to do UI in Love2d. Read at your own peril. You can follow along with the code examples using the project library on gitlab.
Love2d is a great game framework. It provides all the tools you need to make a game wrapped up in a series of easy to use lua modules. But, it leaves the development of the UI to the reader.
There have been several UI libraries and wrappers written to fill this void, both in pure lua, like SUIT and wrappers around c libraries, like nuklear. These libraries are extensive and, I’d argue for most hobby games, overkill.
In my personal projects I’ve taken several approaches to implementing UI, including using bump a library that handles axis aligned rectangular collisions and an ill advised implementation of a UI library of my own.
For my entry to this year’s lisp game jam, Frozen Horizon I wanted to take a simpler path. My goal was to stick with the tools love2d provides out of the box and try and create an immediate mode GUI as simply as possible, with minimal state.
My assumptions objectives and constraints when setting up the UI were:
- Assume that interactable elements are not going to overlap
- Limit the interface to text and buttons (no sliders windows etc)
- Play sound effects when an interactable is hovered and clicked
- Play a single sound / action per hover or click (i.e. don’t spam the hover sound effect when your over a button)
Before we begin lets check out love.run, the main function used by love2d, containing the main loop. This is modifiable by the game developer, but its defaults are sensible (I have never bothered to alter it). What we need to remember is the order in which the love callback functions we define in our game are called. In the main loop of the game we:
- Iterate through events (including input events like
love.mousereleased) - Increment dt and call
love.update - Call
love.draw
Step 1 - Drawing a Button
Lets begin. The first step is to get a button to show up on screen.
You could load a button as a png but in this post we will
be using Love2d’s built in geometry procedures.
To draw a rectangle at point 0 0 that is 100px wide and 200 px tall
we can call the love.graphics.rectangle.
(love.graphics.rectangle :fill 0 0 100 200)The keyword :fill specifies that the rectangle should be
filled in. The other option is :line which specifies that
only the outline should be drawn.
To set the colour of the button we can use
love.graphics.setColor, which takes the red, green, blue
and alpha args, ranging from 0 to 1 either as individual arguments or as
part of a table. Note, this will change the colour of everything you
draw, including images.
;; Set the colour to white
(let [(r g b a) (values 1 1 1 1)]
    (love.graphics.setColor r g b a))

;; Set the colour to black
(let [(r g b a) (values 0 0 01)]
    (love.graphics.setColor r g b a))
To draw text we can use the function love.graphics.print
or love.graphics.printf. The later can be used to center
text horizontally.
(let [(x y w) (values 0 100 300)]
    (love.graphics.printf "Some Text" x y w :center))
Lets choose some colours and put it all together. Check out a UX colour pallet site for some inspiration like colorsinspo. I’ll be using:
(local colours
       {
        :text       [ 0.2109375 0.30859375 0.41796875 0.99609375 ]
        :button     [ 0.9375 0.9375 0.9375 0.99609375 ]
        :background [ 0.26171875 0.86328125 0.8984375 0.99609375 ]
        :highlight  [ 0.984375 0.31640625 0.51953125 0.99609375 ]
        })
Now lets go about drawing a button. We will use the functions
discussed above. From here on out I will be using lg as an
alias for love.graphics in codeblocks. I also wrap love
callbacks draw, update and
mousereleased. Wherever you see these functions you can
replace them with love.draw, love.update and
love.released.
(local lg love.graphics)

(local (bw bh) (values 200 50))

(fn draw []
  ;; clear frame
  (lg.clear colours.background)
  (lg.setColor colours.button)
  ;; draw button
  (lg.rectangle :fill 0 0 bw bh)
  (lg.setColor colours.text)
  (lg.rectangle :line 0 0 bw bh)
  (lg.printf "Button" 0 10 bw :center))
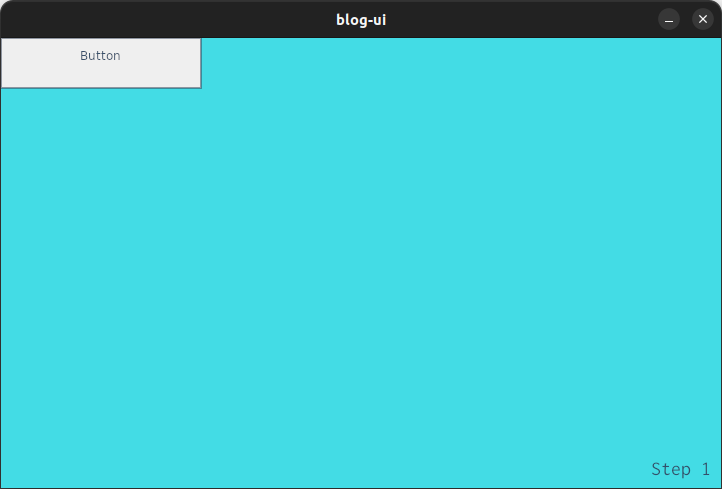
You should now have a button in the top left. Really captivating stuff.
The full source can be seen here.
Step 2 - Centring the Button
Before going any further lets play around with this button. We can
set the font of the text using love.graphics.newFont, we
can center the button using love.graphics.translate and we
can make the outline thicker using
love.graphics.setLineWidth.
;; to help center the button lets get the window's
;; height and width
(local (window-w window-h) (love.window.getMode))

(local button-font (lg.newFont "inconsolata.otf" 24))

(fn draw []
  ;; clear frame
  (lg.clear colours.background)
  (lg.setColor colours.button)
  ;; move to position
  (lg.translate (-> window-w (- bw) (/ 2) (math.floor))
                (-> window-h (- bh) (/ 2) (math.floor)))
  ;; draw button
  (lg.rectangle :fill 0 0 bw bh)
  (lg.setColor colours.text)
  (lg.setLineWidth 6)
  (lg.rectangle :line 0 0 bw bh)
  (lg.setFont button-font)
  (lg.printf "Button" 0 10 bw :center))
For those unfamiliar with the threading operator ->,
each function takes the output of the previous function as its first
argument. Its a helpful means of extracting nested logic into a piped
flow.
(assert (= (-> 1 (+ 1) (* 2)) (* 2 (1 + 1))))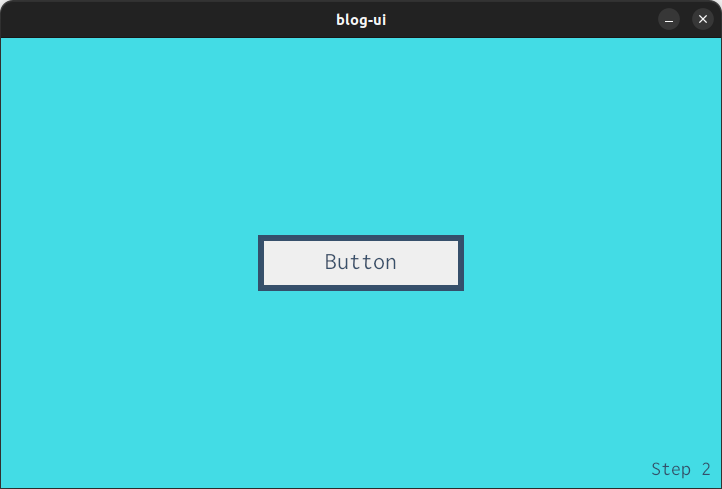
The full source can be seen here.
Step 3 - Hovering the Button
So now we have a halfway decent looking button that we can move anywhere on the screen. Its time to interact with it.
The first step to interacting is determining when we are hovering
over the button. To test if a point px py is
within an axis aligned box we can use the following function.
(fn point-within [px py x y w h]
  ;; px < x + w  and px > x and py < y + h and py > y
  (and (< px (+ x w))
       (> px x)
       (< py (+ y h))
       (> py y)))
Additionally, to account for any transformations in screen space we can translate our mouse coordinates using love.graphics.inverseTransformPoint.
(local (mx my) (love.mouse.getPosition))
;; some transformation
(local (screen-x screen-y) (lg.inverseTransformPoint mx my))
Putting it all together, here is our new draw function.
Remember, call inverseTranformPoint after the
transformations of the button are finished.
(fn draw []
  ;; get mouse position
  (local (mx my) (love.mouse.getPosition))
  ;; clear frame
  (lg.clear colours.background)
  (lg.setColor colours.button)
  ;; move to position
  (lg.translate (-> window-w (- bw) (/ 2) (math.floor))
                (-> window-h (- bh) (/ 2) (math.floor)))
  ;; transform mouse to screen space
  (local (screen-x screen-y) (lg.inverseTransformPoint mx my))
  ;; determine if mouse is within button
  (local hover (point-within screen-x screen-y 0 0 bw bh))
  ;; draw button
  (lg.setColor colours.button)
  (lg.rectangle :fill 0 0 bw bh)
  ;; set text and outline colour to pink when hovered
  (if hover
      (lg.setColor colours.highlight)
      (lg.setColor colours.text))
  (lg.setLineWidth 6)
  (lg.rectangle :line 0 0 bw bh)
  (lg.setFont button-font)
  (lg.printf "Button" 0 10 bw :center))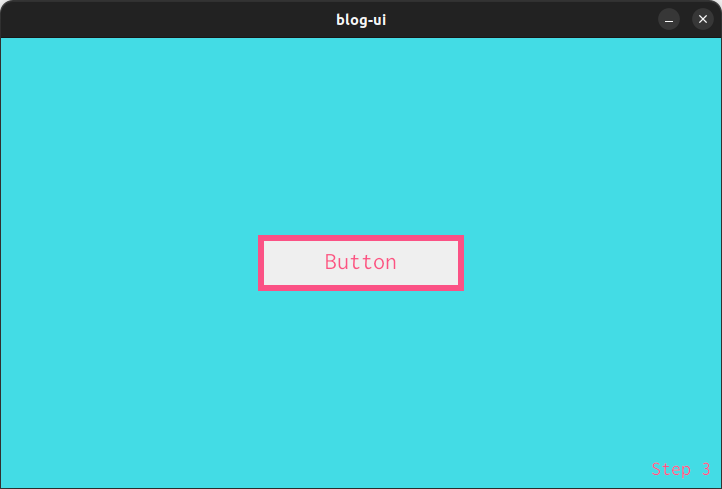
The full source can be seen here.
Step 4 - Clicking the Button
Cool, so we can draw a neat button on screen and have it highlight
whenever the mouse is over it. Great. Now, how can we interact with it,
i.e. click it. This is the first point where we will have to introduce
some sort of external state. In order to distinguish which button we are
over when the mouse is clicked we will need some sort of
over variable that love.mousereleased has
access to.
Referring back to the order of operations in love.run we
can recall that events are called before update, and update is called
before draw. So, if we set our variable over to the handle
of the button we are hovering in draw, it will be available next frame
in love.mousereleased. Once we are done using it in
love.mousereleased we can set it back to nil
in love update and begin the process again.
Lets start with love.mousereleased. When this event is
called lets have a variable count incremented when we are over the
button.
(var over nil)
(var count nil)

(fn mousereleased [x y button]
  (match over
    :button (set count (+ count 1))))
To ensure the value of over is nil in the
case where the mouse is not over anything we can set it to nil in update
each frame. We can also spice up our demo by rotating the button, we can
update the rotation in update as well.
(var rotation 0)
(fn update [dt]
  (set over nil)
  (set rotation (+ rotation  dt)))
Finally in our draw function we only need one small addition to
enable clicking. After we determine if the button is hovered or not we
need to set over to the handle of the button.
;; in draw
(local hover (point-within screen-x screen-y 0 0 bw bh))
(when hover (set over :button))
Additionally, lets rotate the button as well. To rotate around the center point of the button, translate to the center of the button before rotating and then translate back.
(lg.translate (/ bw 2) (/ bh 2))
(lg.rotate (* rotation 5))
(lg.translate (/ bw -2) (/ bh -2))
We can also replace the text of the button with a count of the number of times its been clicked.
(lg.printf (.. "Clicked " count) 0 10 bw :center)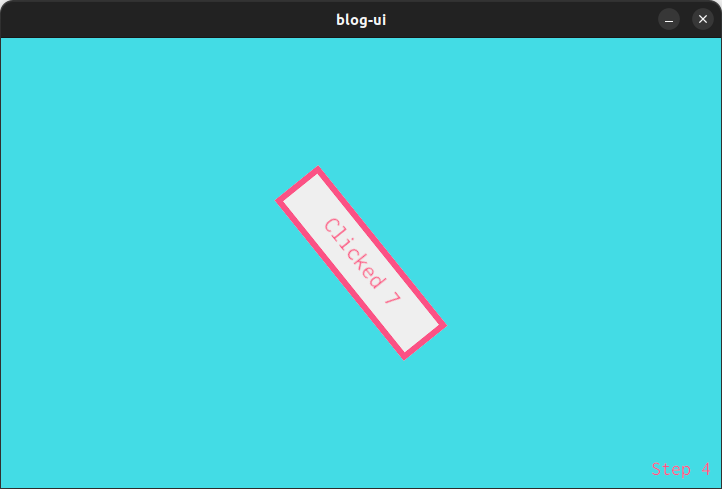
The full source can be seen here.
Step 5 - The Sound Effects
So now we have a functional button. We can use
love.graphics.push and love.graphics.pop to
make several of these and spread them all over our game. Before we do
that however lets implement the remaining constraint outlined above:
making the buttons have sounds.
To load a sound in love2d we use love.audio.newSource.
We can then use the method play to play the sound.
(local beep (love.audio.newSource "beep.ogg" :static))
(beep:play)
To ensure that we only hear the beep the first time we hover over the
button we’re going to keep track of the last button we hovered over. For
this lets use the simple function first-only. This is the
second required piece of state in the ui.
(var first-previous nil)
(fn first-only [x]
  (let [first (~= x first-previous)]
    (set first-previous x)
    (when first x)))
We can now use (first-previous over) to determine if we
should play a sound. To do this we could create our own event handler or
check for a change in state in update. The easiest place to stick this
logic for our example would be in update right before we set
over to nil.
(match (first-only over)
  nil :no-hover-sfx
  _ (beep:play))
The full source can be seen here.
Step 6 - Putting it all together
Now that we have the full implementation of a button, as alluded to
above, we can use love.push and love.pop to
reset the transformation state between button draws. Doing this allows
us to draw buttons wherever we want on the screen with full
interactivity.
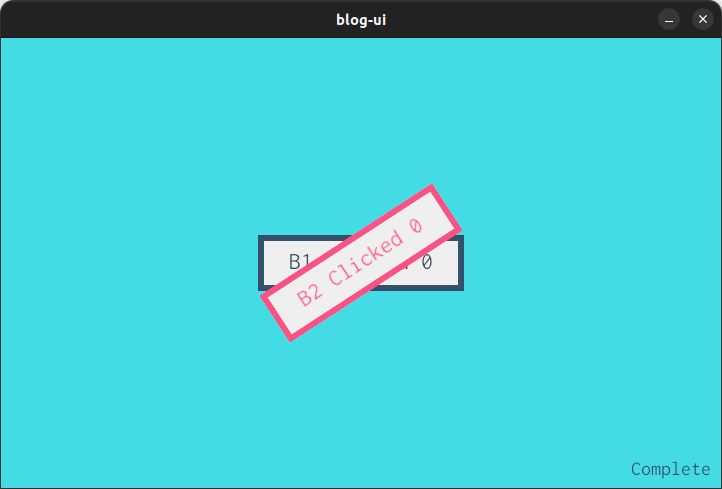
The full source can be seen here.
Limitations of the Approach
As can be seen in the completed example, while we will always select the last button drawn and hovered to be clicked, we will still show all the buttons hovered as highlighted. This is a non issue if your buttons are not expected to overlap, or if you’re drawing stacked menus where the hovered buttons below will be obscured by the background of the menus above.
There are a couple of solutions to this limitation.
- Have a separate render pass for the highlighted interactable. This will require additional state (i.e. how to render the highlight) but works well if you are, for example, using this immediate draw approach for characters in a world map.
- Use a shader / depth buffer to draw forward back instead of back forward (i.e. the painters algorithm)
Points of Interest
Here are just an extra couple points of interest for the avid reader.
For those wondering how love.graphics.getInverseMatrix
works, fundamentally it takes the object transform * view matrix and
performs the inverse transformation on it. Since the matrix we are
inverting is a 4x4 we can use a specified matrix
inversion.
love::Vector2 Transform::inverseTransformPoint(love::Vector2 p)
{
    love::Vector2 result;
    getInverseMatrix().transformXY(&result, &p, 1);
    return result;
}
For those that would like to use point-within in their
own projects, but don’t want to use fennel here is an implementation in
lua
function pointWithin(px,py,x,y,w,h)
  return px < x + w  and px > x and
         py < y + h and py > y
end